To get exclusive patterns, projects, information, discounts on patterns, and livestream sessions with Margo, join our Patreon at patreon.com/margoanderson
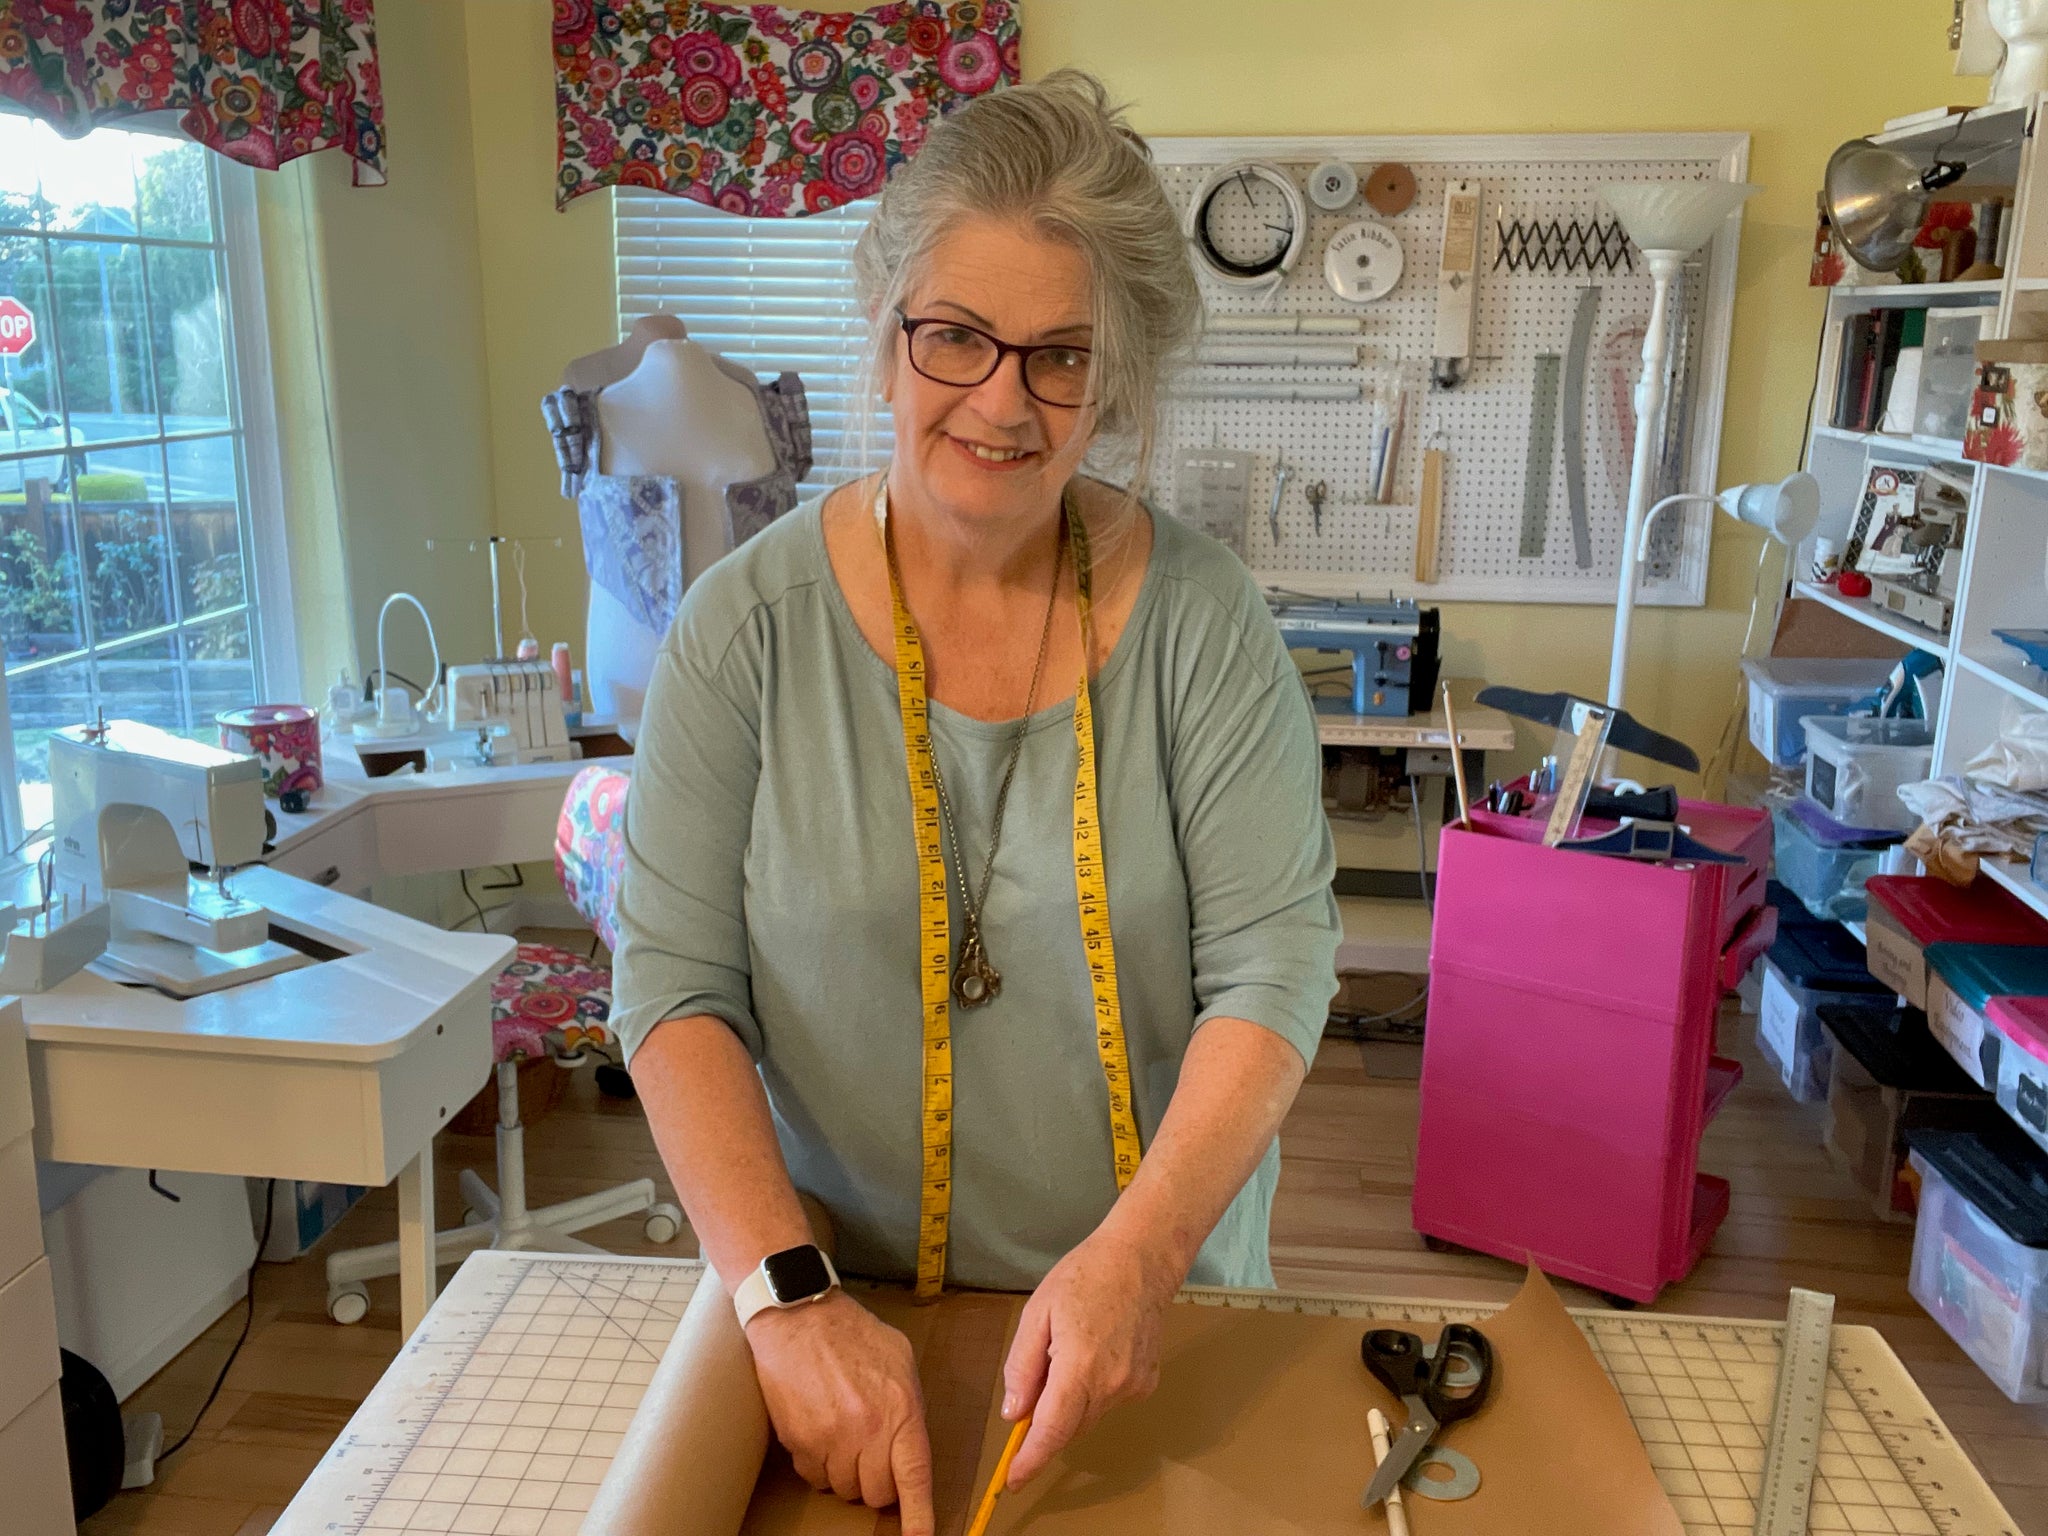
Many of you already know me as the creator of Margo’s Patterns, a collection of patterns for historical garments of the 16th century. Over the last two decades, my work has become known as the best of its kind.I’ve been obsessed with clothing and its history since I was a child. I sewed my first attempt at a historical costume when I was thirteen--50 years ago! I love my craft, and even more, I love sharing my knowledge. Now I’m venturing into a new realm/world/something: Patreon.Patreon will allow me to bring you even more detailed information and instruction than you get with the pattern manuals. I’ll be able to focus on details, such as teaching a new technique and its...
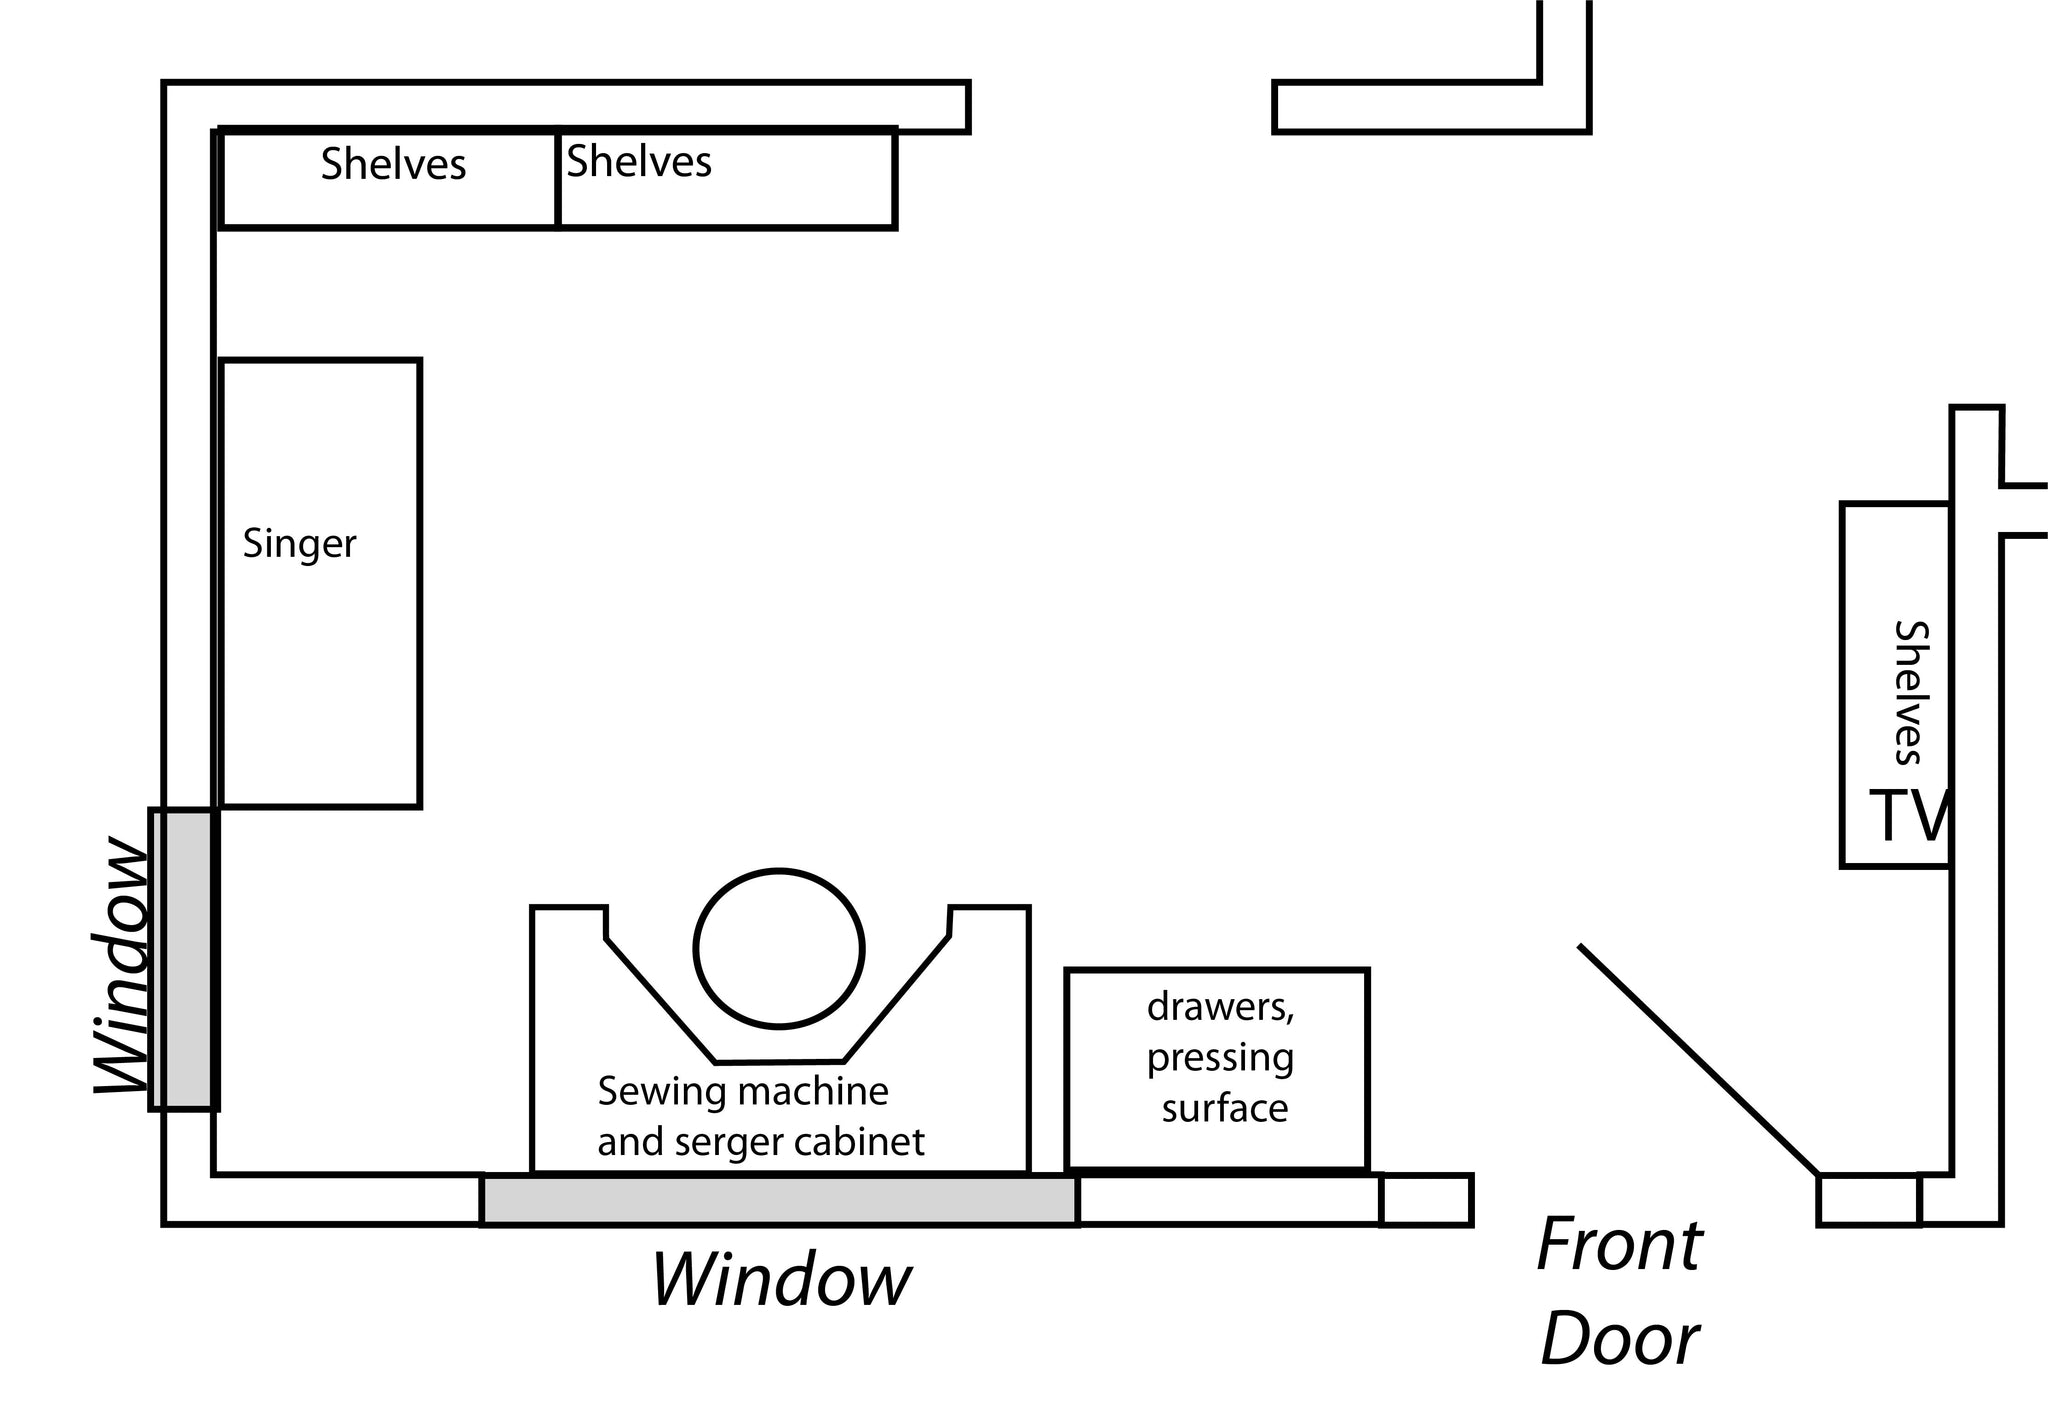
My first big challenge was to figure out what would and wouldn’t fit in the sewing space. The next was to figure out where to keep the stuff that didn’t fit. What I have to work with is a "formal living room". These are a common trend in homes built in the last few decades. They are typically either near the front door, or, as in this case, share space in common with it. An acquaintance who is a realtor told me that in her experience, 90% of formal living rooms are used as offices, children's playrooms, or craft rooms, so I'm guessing that having my workspace there won't look as peculiar as I'd feared! I needed a floor plan. When we...
A few months ago, my husband got a new job, and we needed to move. We found a house that was perfect in many ways, but one thing concerned me. The only space for a sewing room was half the size of the one I’d be leaving. I've been lucky enough to have some kind of dedicated sewing space for the last 35 years, and I've always felt lucky to have all my equipment and supplies in that space. My workspace was filled with machines, storage, dress forms, and pegboards. I wasn't wasting space on frivolous decorations. I was a professional with a serious workspace! However, the more I thought about it, the more I realized that I didn't actually like being in the...
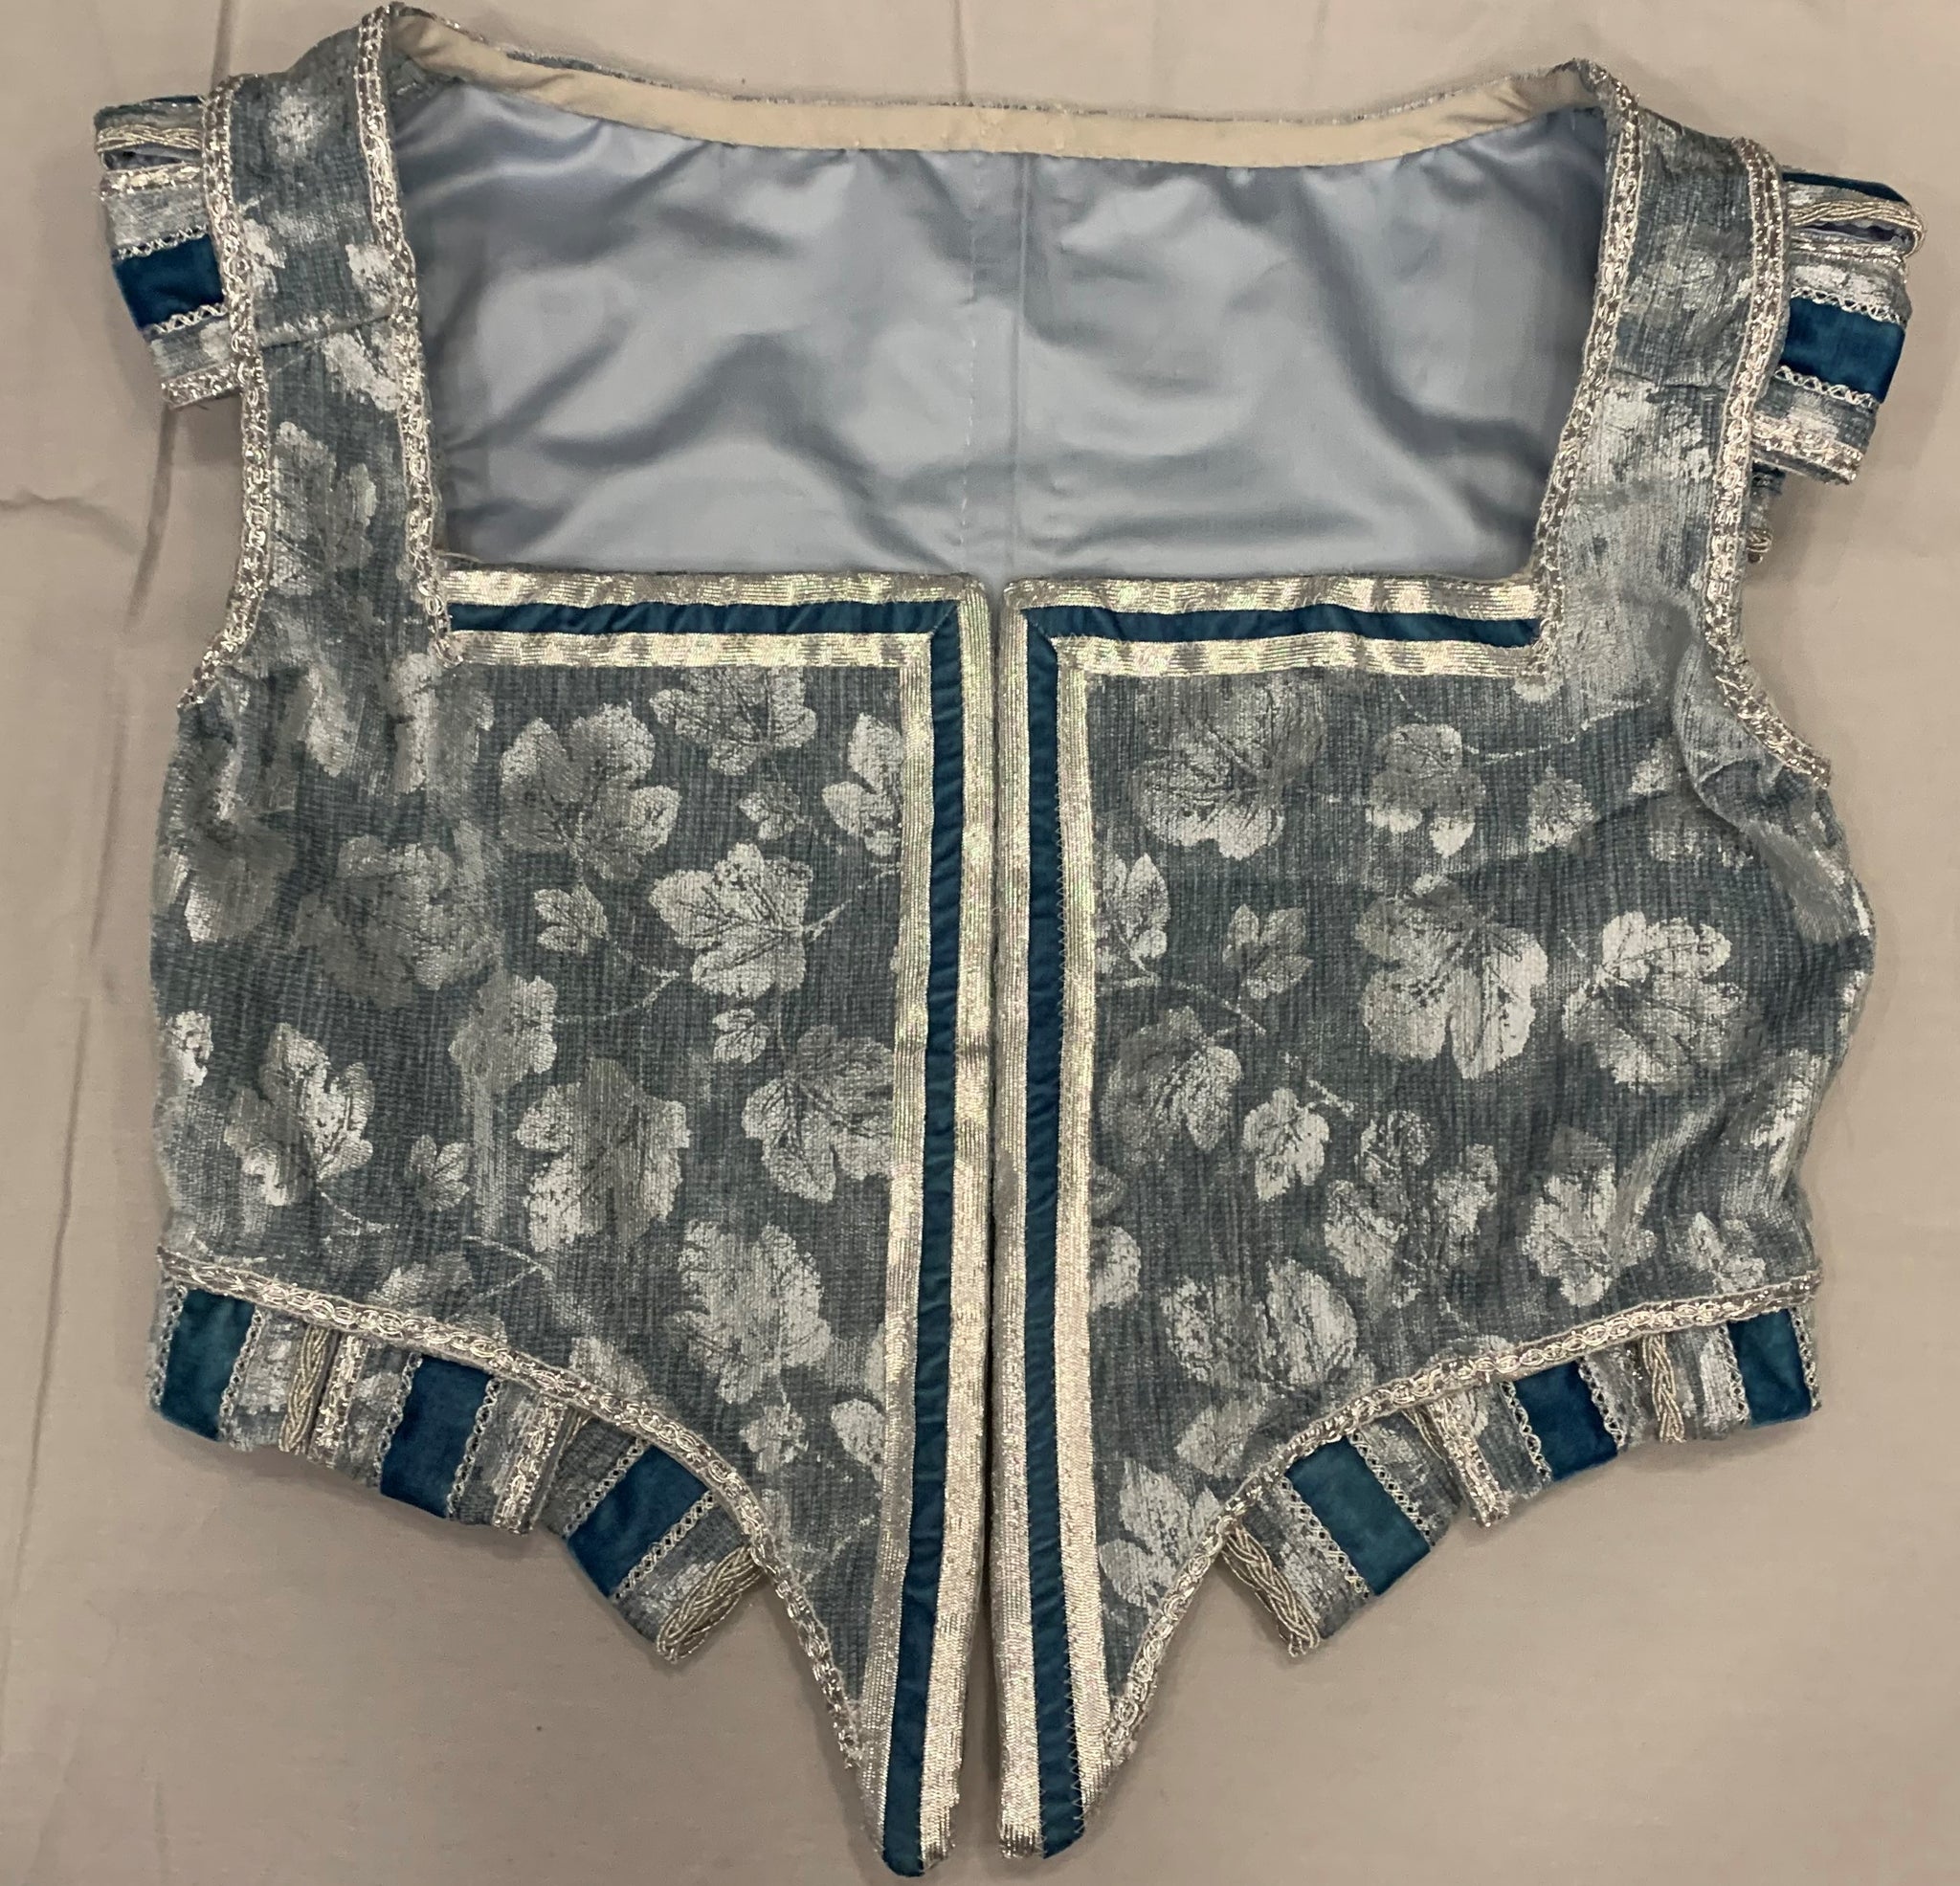
Welcome back to The Elizabethan Bodice Sew Along! Today we are going to discuss all the remaining things you need to do to finish your bodice! In our last installment, we finished our seams and bound the edges of our bodice. Bound bodice, waiting for finishing treatments. We had skipped the instructions on skirting, because we had planned on adding the skirting/tabs after the binding went on, in order to make it easier for adjusting for weight. However, we first had to choose trims for the bodice. Choosing the trims. We had some dark teal velvet we were planning on using for the underskirt, so we chose a dark teal ribbon for the main trim, and silver braids that coordinated. ...
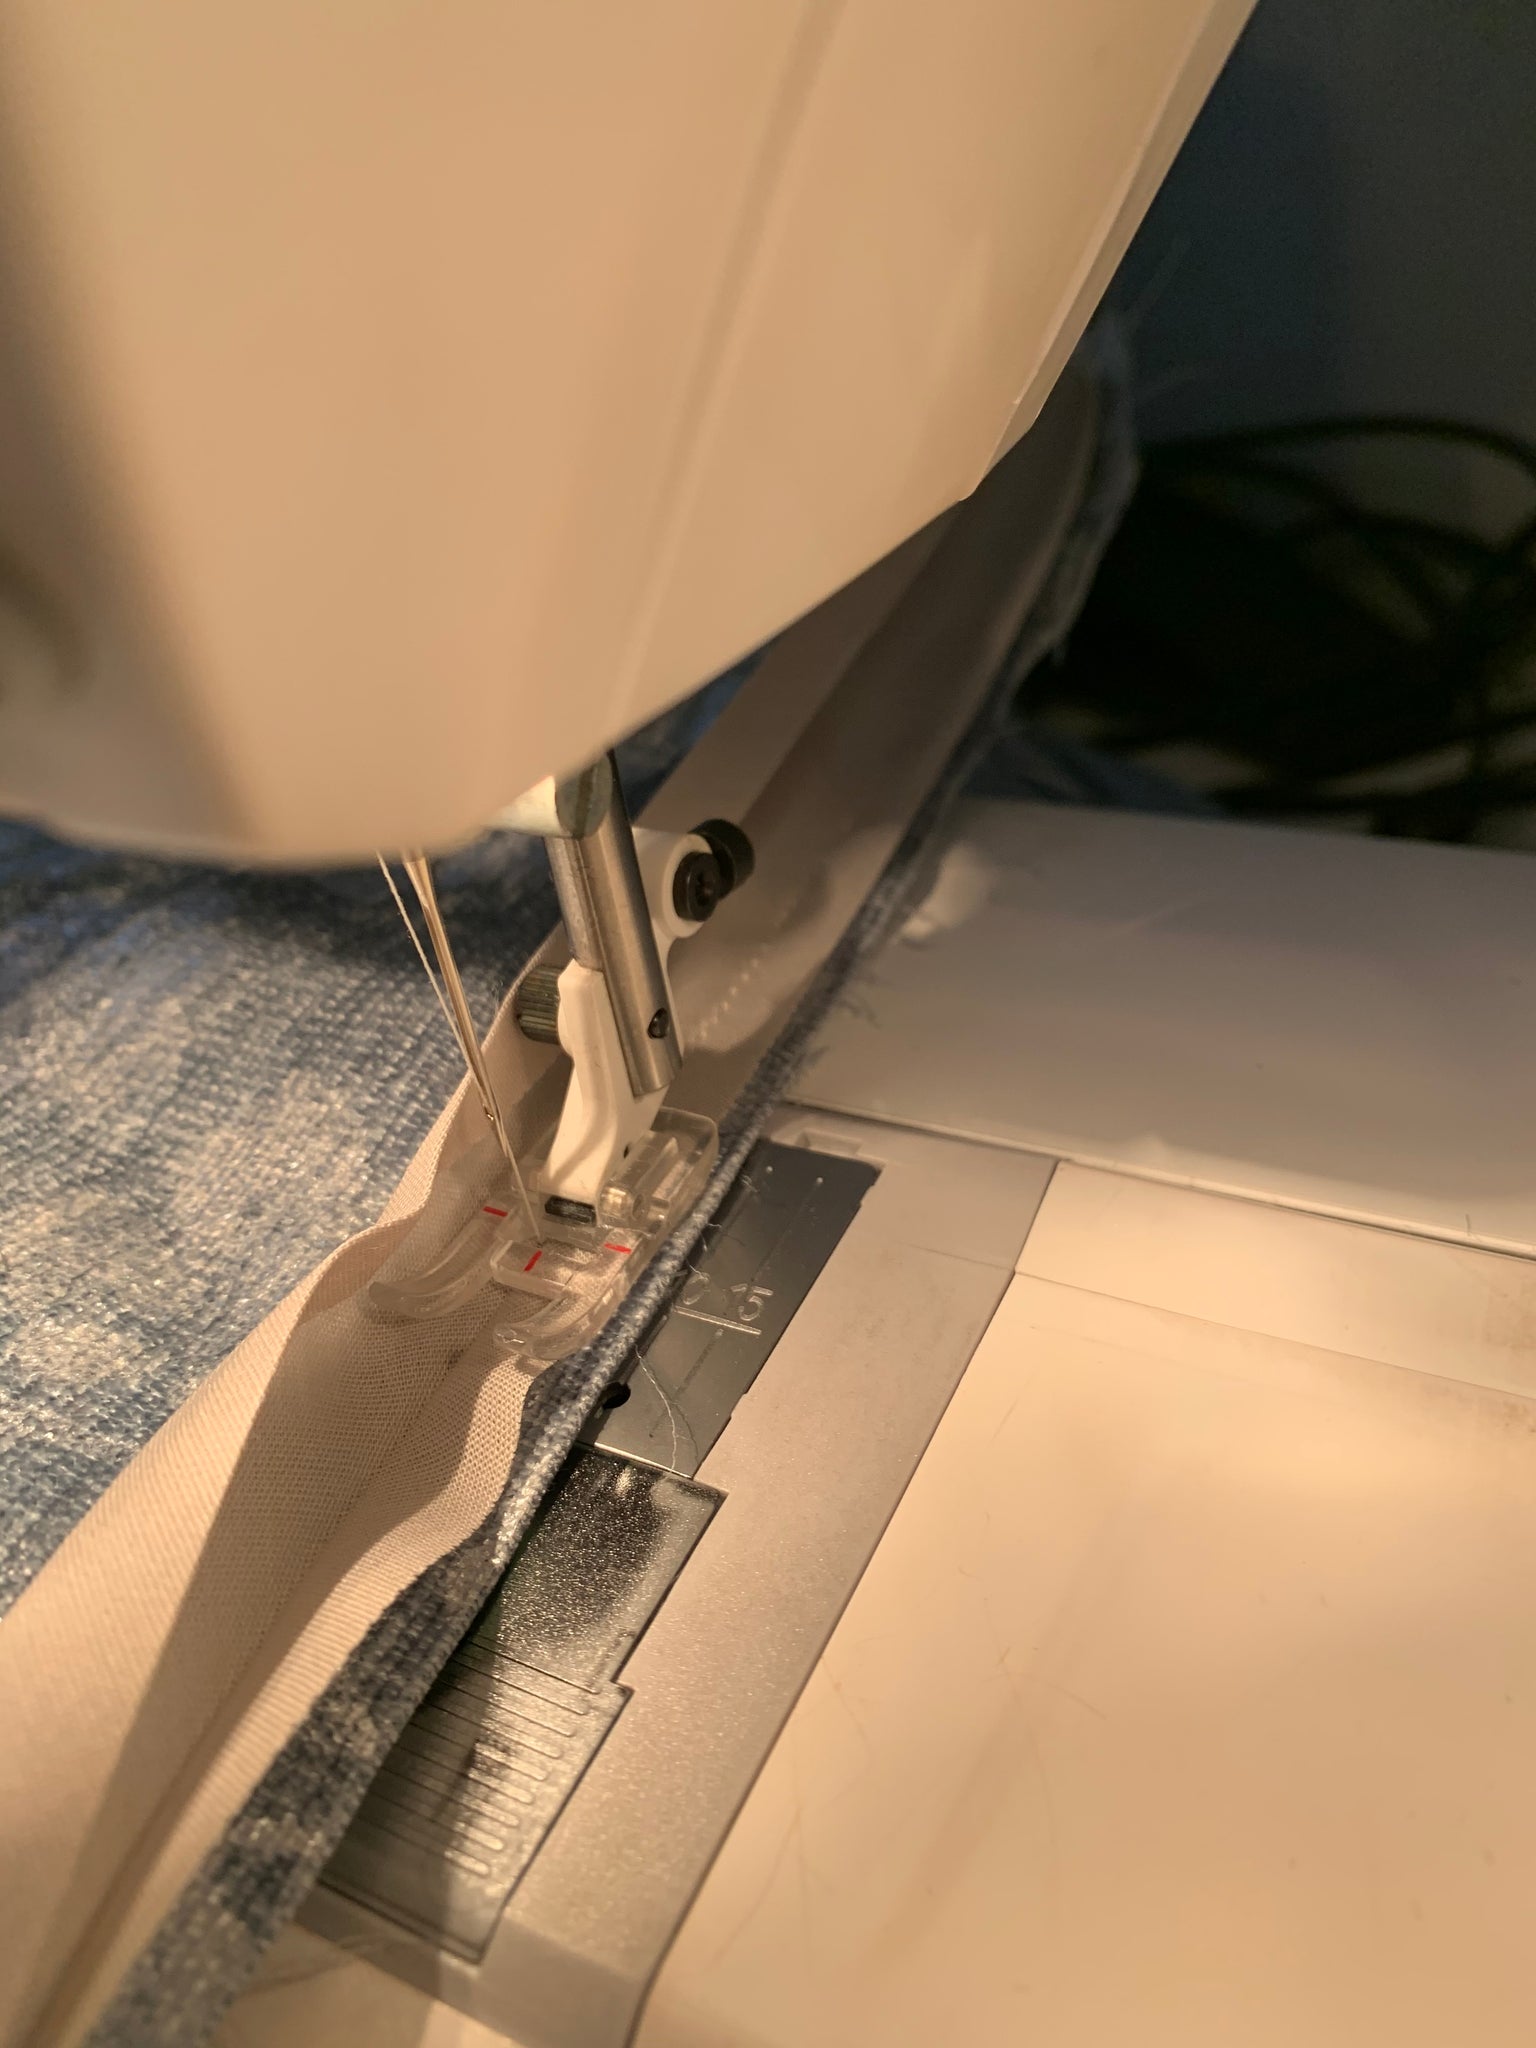
Welcome back to The Elizabethan Bodice Sew Along! Today we are going to focus on seaming our stacked pattern pieces, and finishing the edges with binding tape. In our last installment, we stacked our layers and cinched our armsyce. Stacked bodice pieces, stitched and ready for seaming. In the instruction manual for #012, it is recommended that you sew your back seam together first. As this is a front opening bodice, we had put our back seam on a fold, so we did not have to do this step. Nor did we have any extra fabric in the side seams due to the way we drafted the pattern, so we were able to move directly to sewing the side seams....