To get exclusive patterns, projects, information, discounts on patterns, and livestream sessions with Margo, join our Patreon at patreon.com/margoanderson
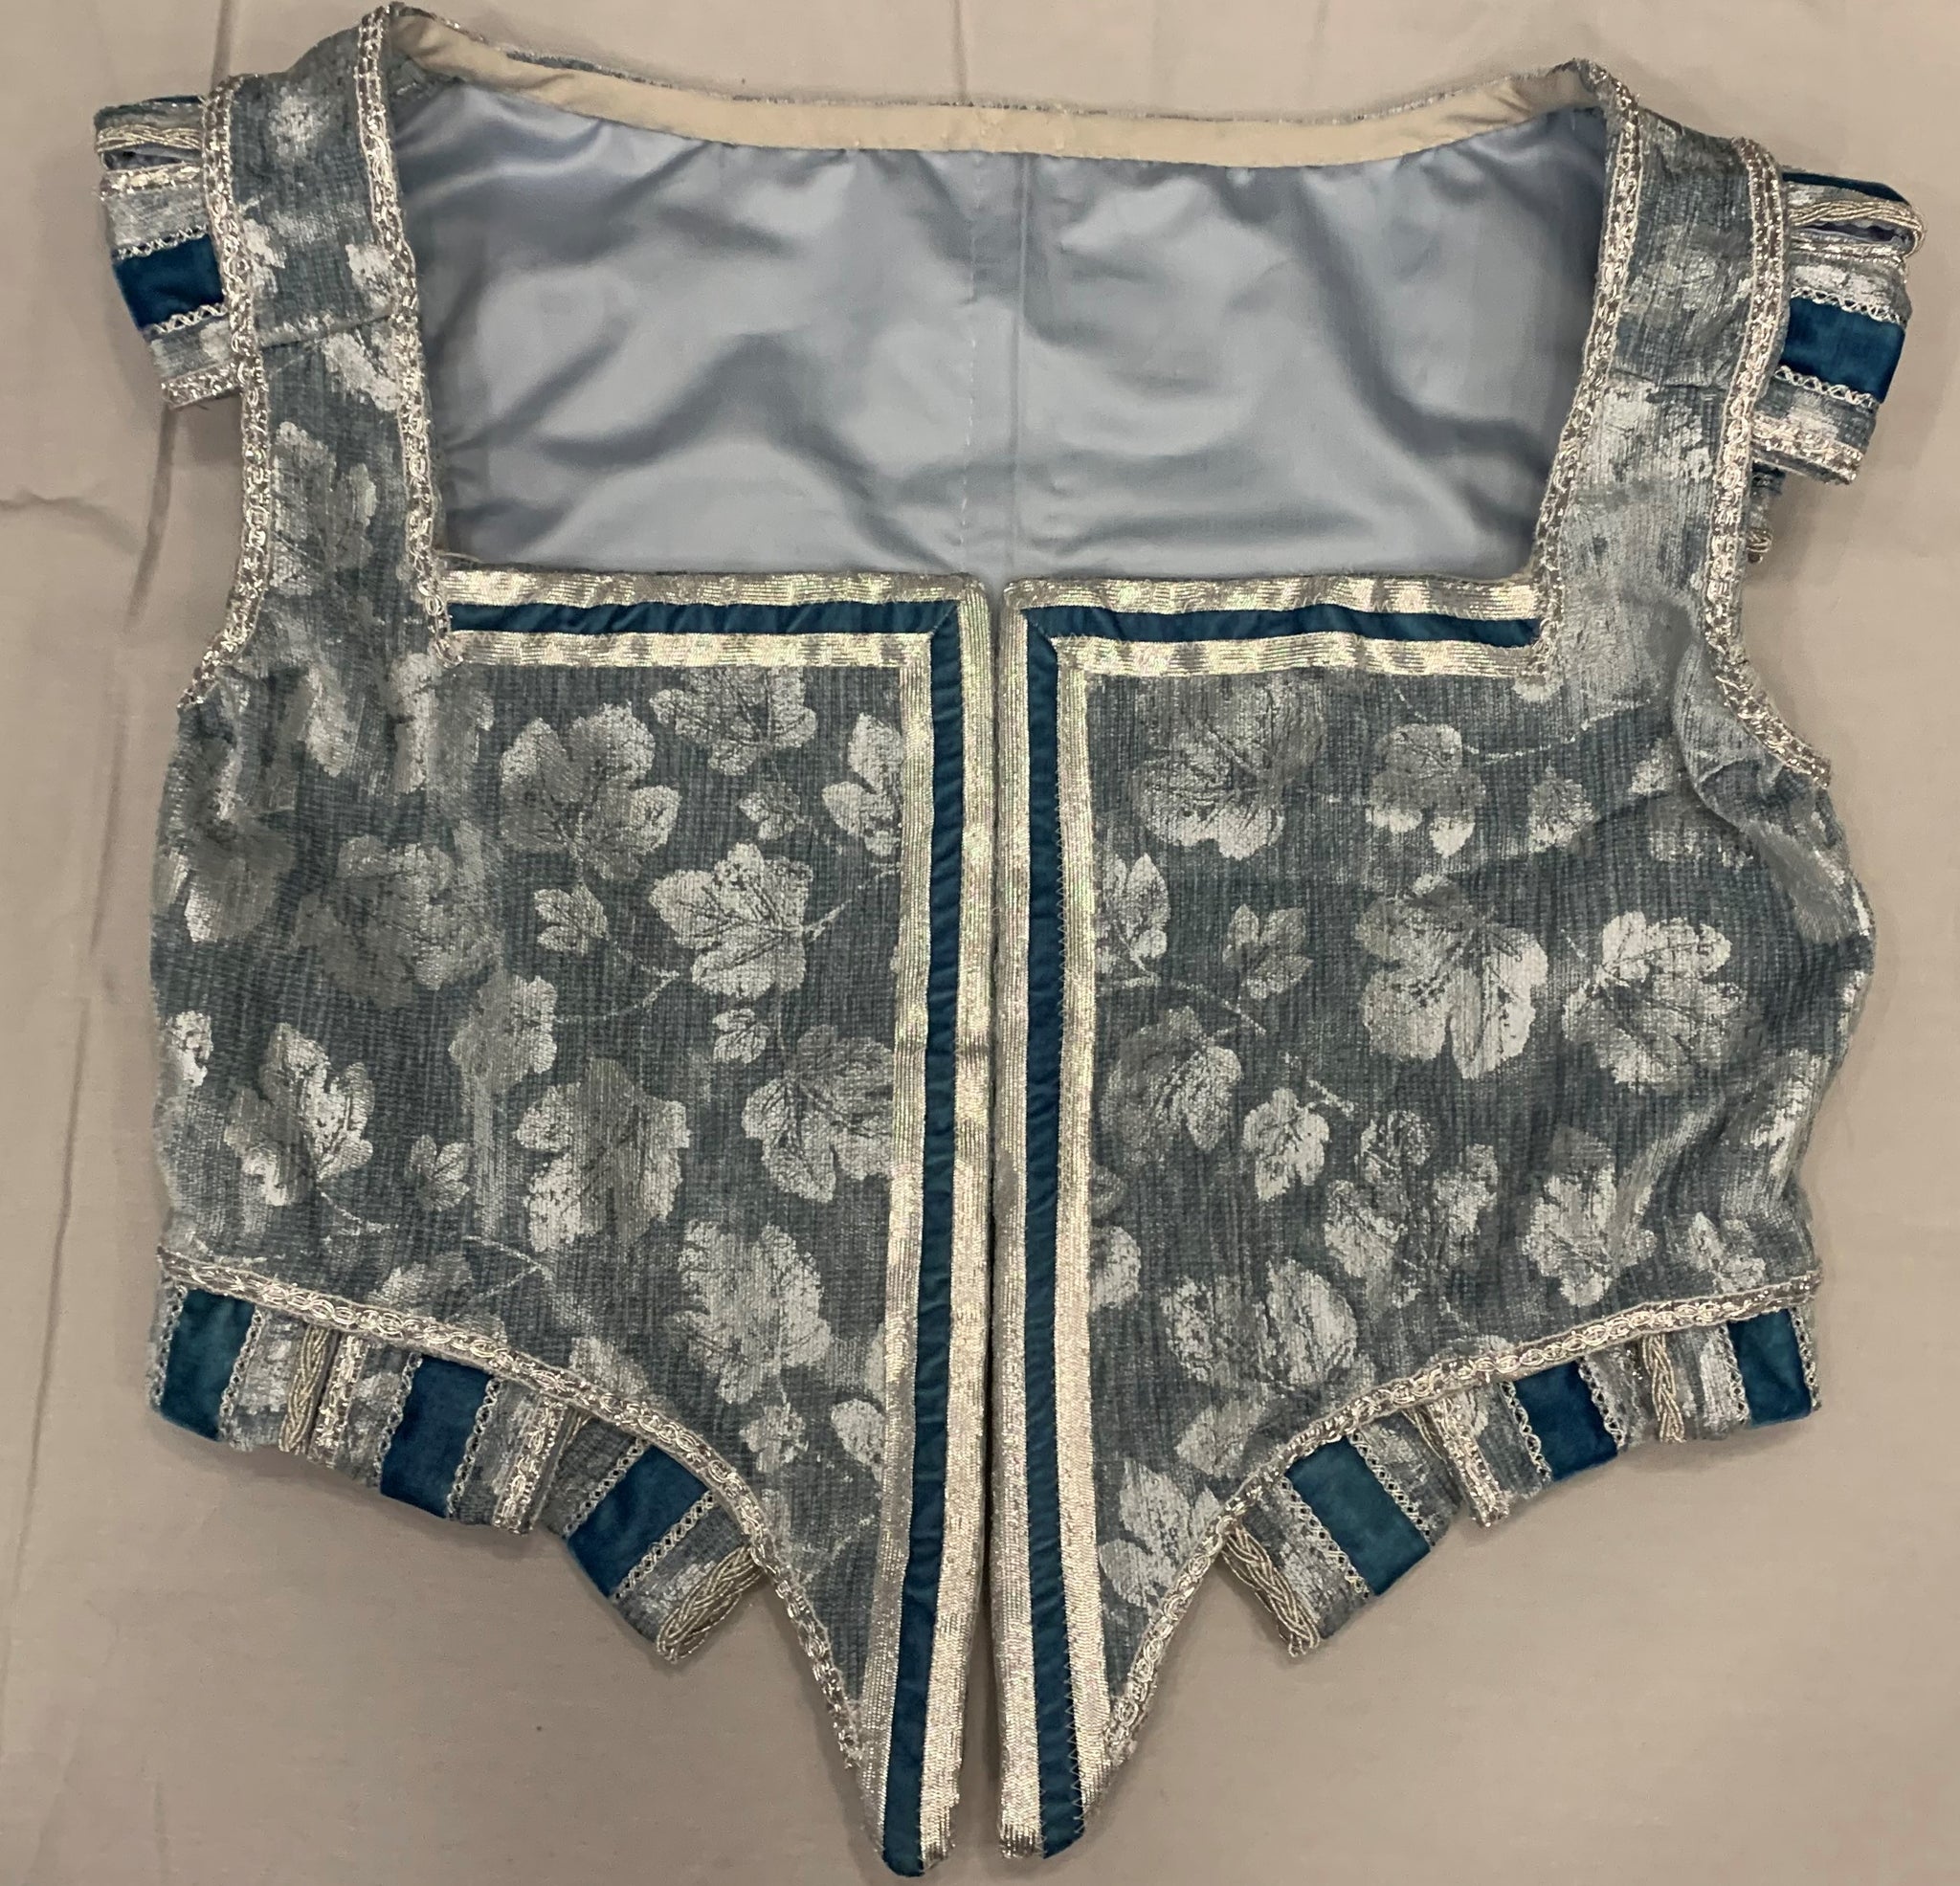
Welcome back to The Elizabethan Bodice Sew Along! Today we are going to discuss all the remaining things you need to do to finish your bodice! In our last installment, we finished our seams and bound the edges of our bodice. Bound bodice, waiting for finishing treatments. We had skipped the instructions on skirting, because we had planned on adding the skirting/tabs after the binding went on, in order to make it easier for adjusting for weight. However, we first had to choose trims for the bodice. Choosing the trims. We had some dark teal velvet we were planning on using for the underskirt, so we chose a dark teal ribbon for the main trim, and silver braids that coordinated. ...
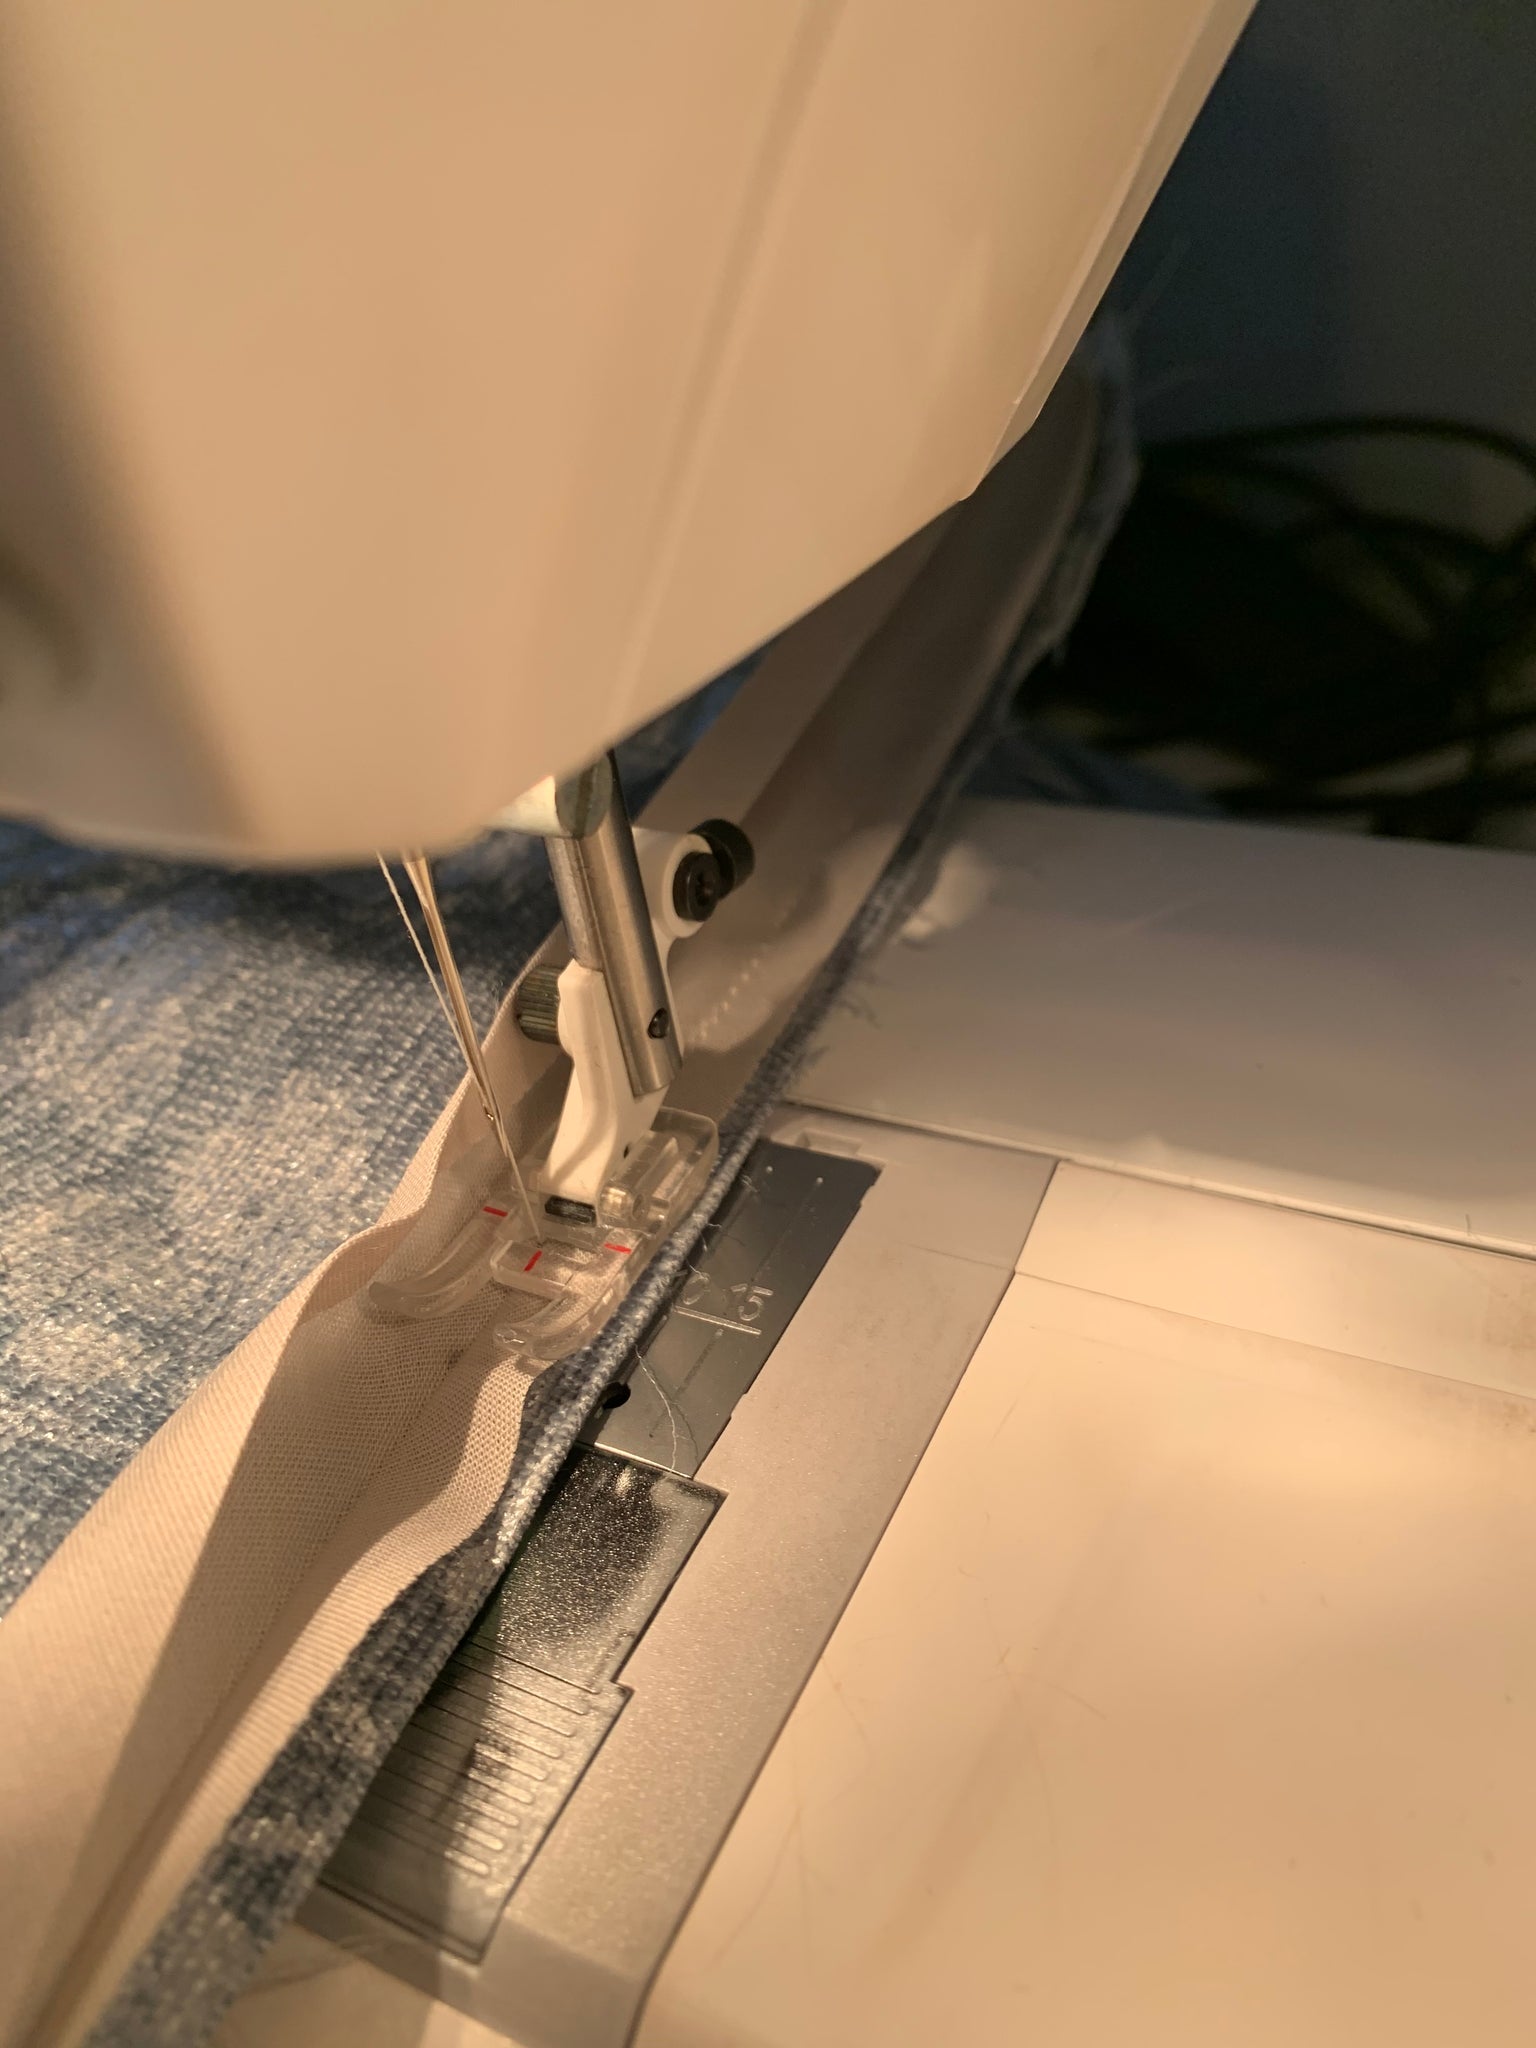
Welcome back to The Elizabethan Bodice Sew Along! Today we are going to focus on seaming our stacked pattern pieces, and finishing the edges with binding tape. In our last installment, we stacked our layers and cinched our armsyce. Stacked bodice pieces, stitched and ready for seaming. In the instruction manual for #012, it is recommended that you sew your back seam together first. As this is a front opening bodice, we had put our back seam on a fold, so we did not have to do this step. Nor did we have any extra fabric in the side seams due to the way we drafted the pattern, so we were able to move directly to sewing the side seams....
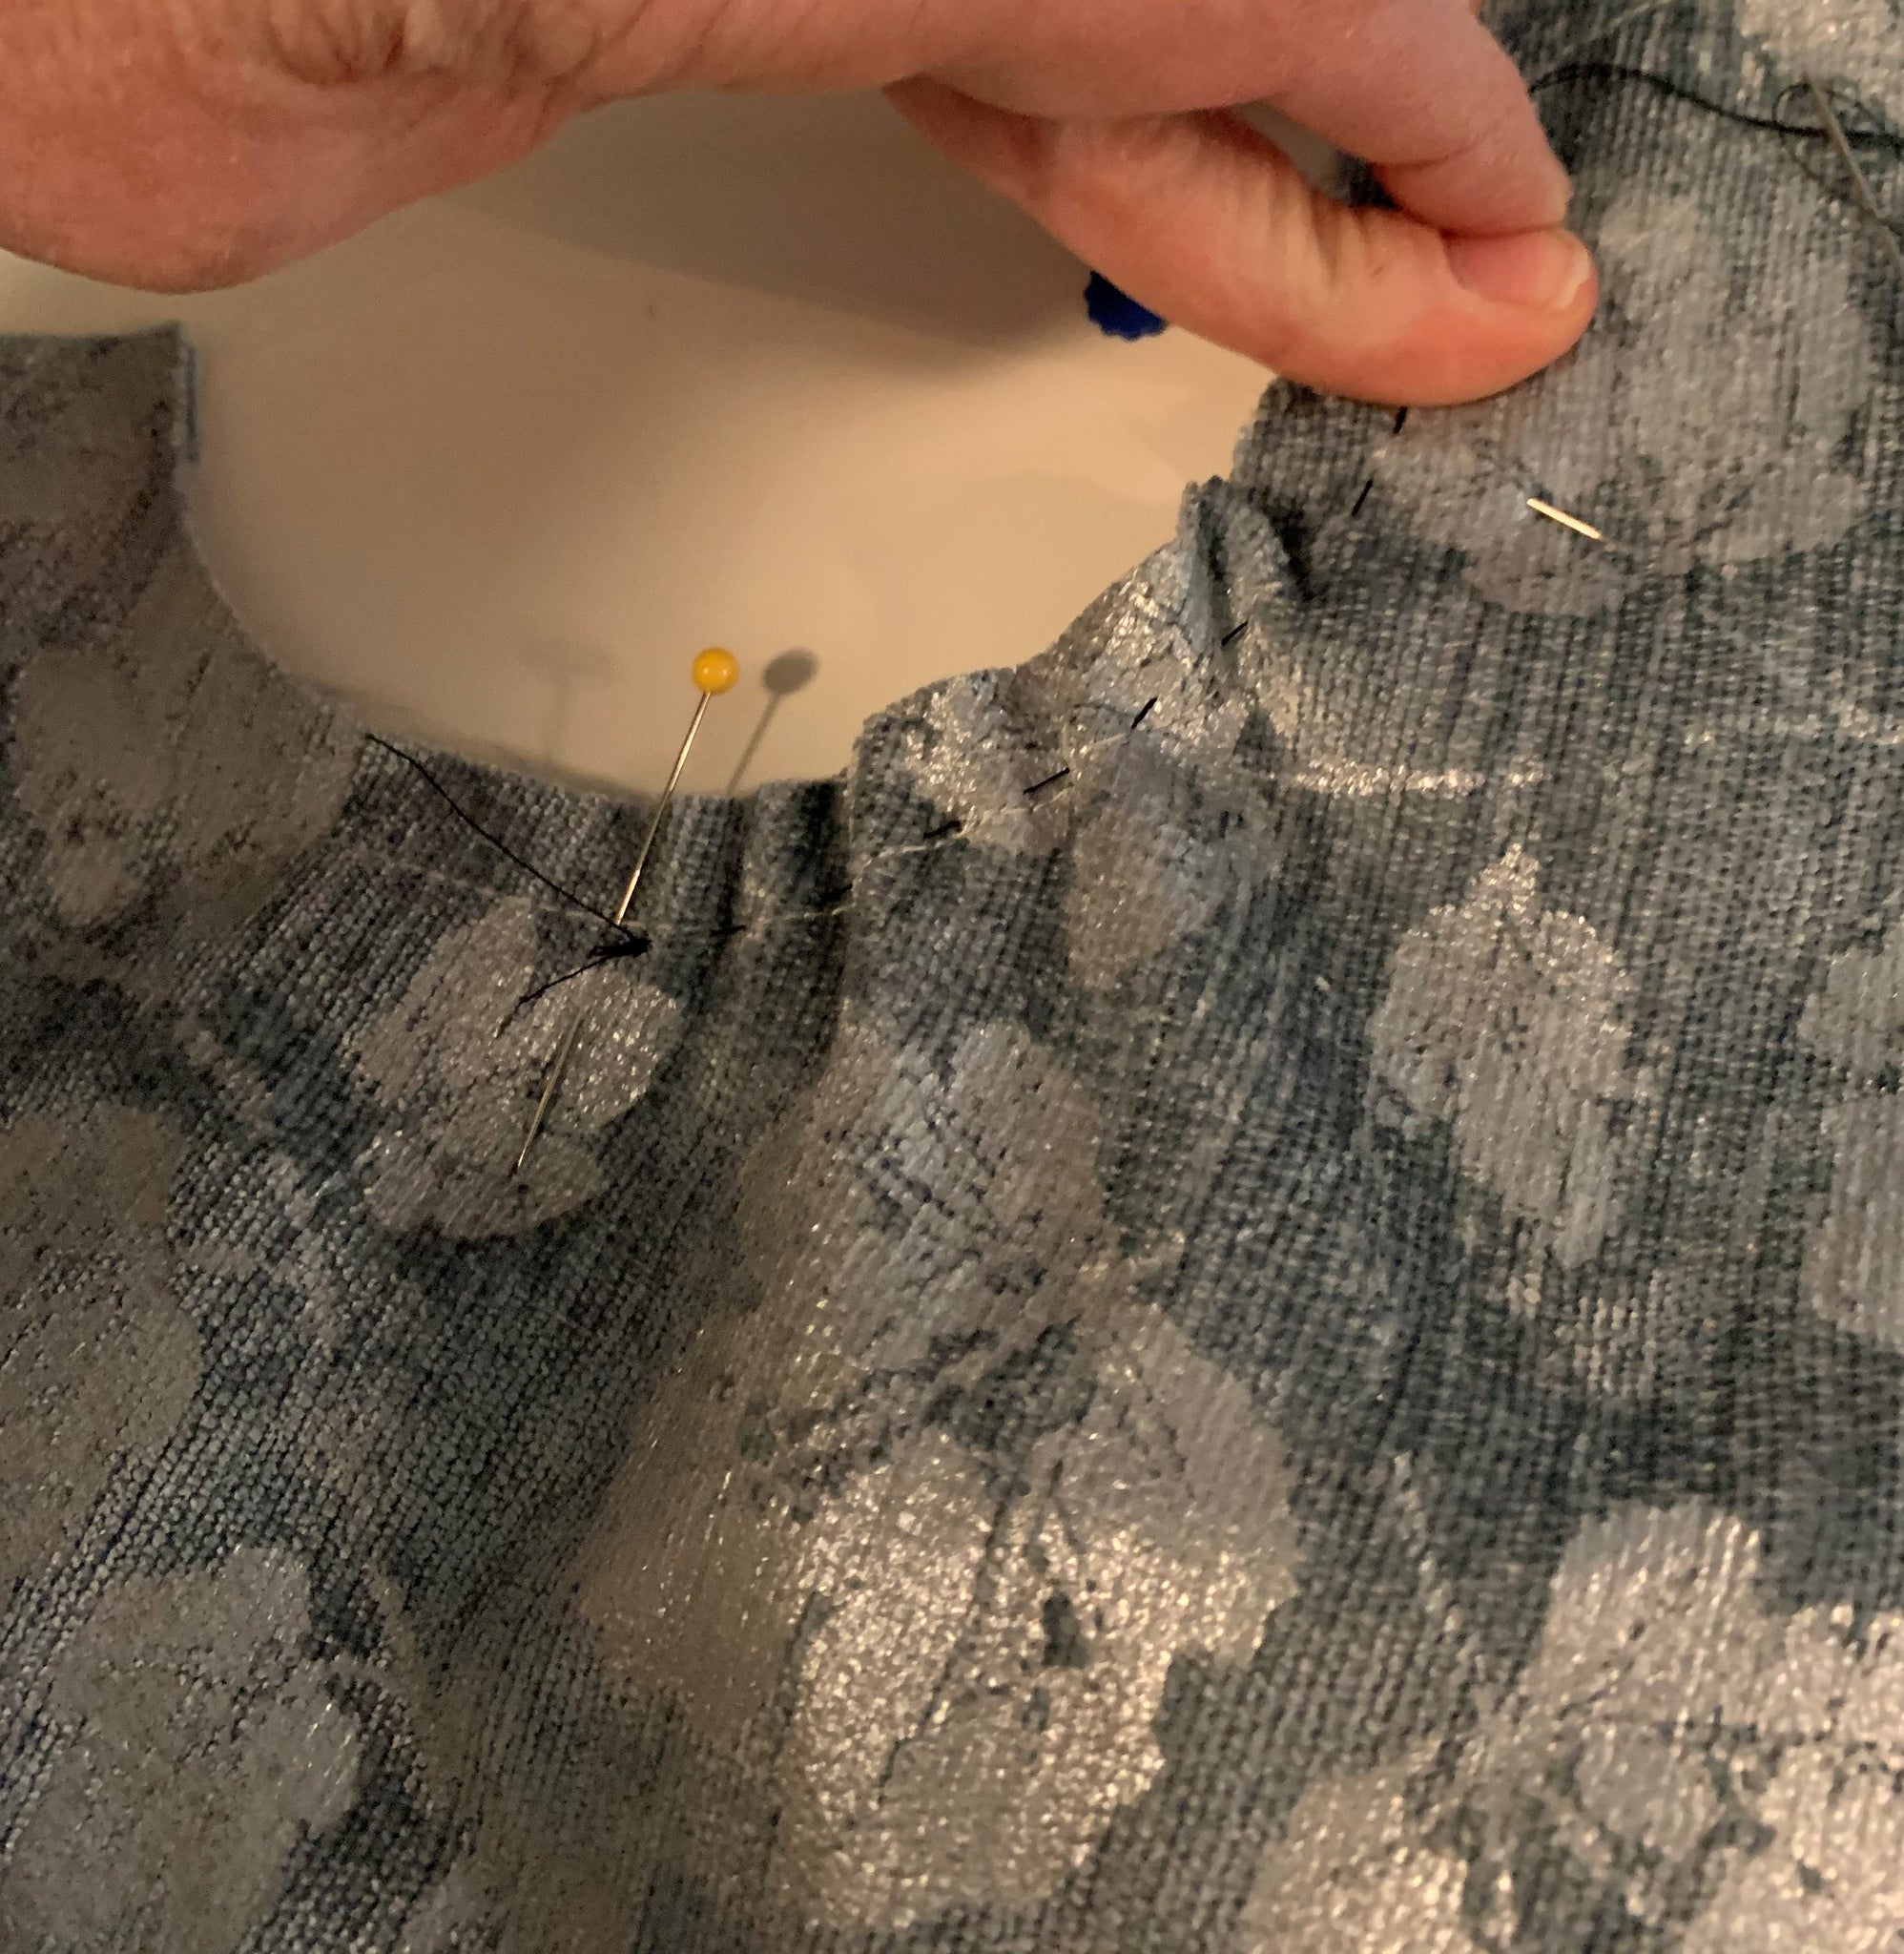
Welcome back to The Elizabethan Bodice Sew Along! Today we are going to focus on stacking our layers, and cinching our armsyce. In our last installment, we constructed our flatlining by adding stiffening and boning to it. Now we are going to take all those layers, and start turning them into something resembling a bodice. Our flatlining, ready to be stacked! We took our fashion fabric, and put it on the table RIGHT side down. Then we took our flatlining and put it WRONG sides together with it's coordinating fashion fabric piece. If we had interlining, we would have put this between those two layers. In this case, the side with the boning channels would be facing up, and the...
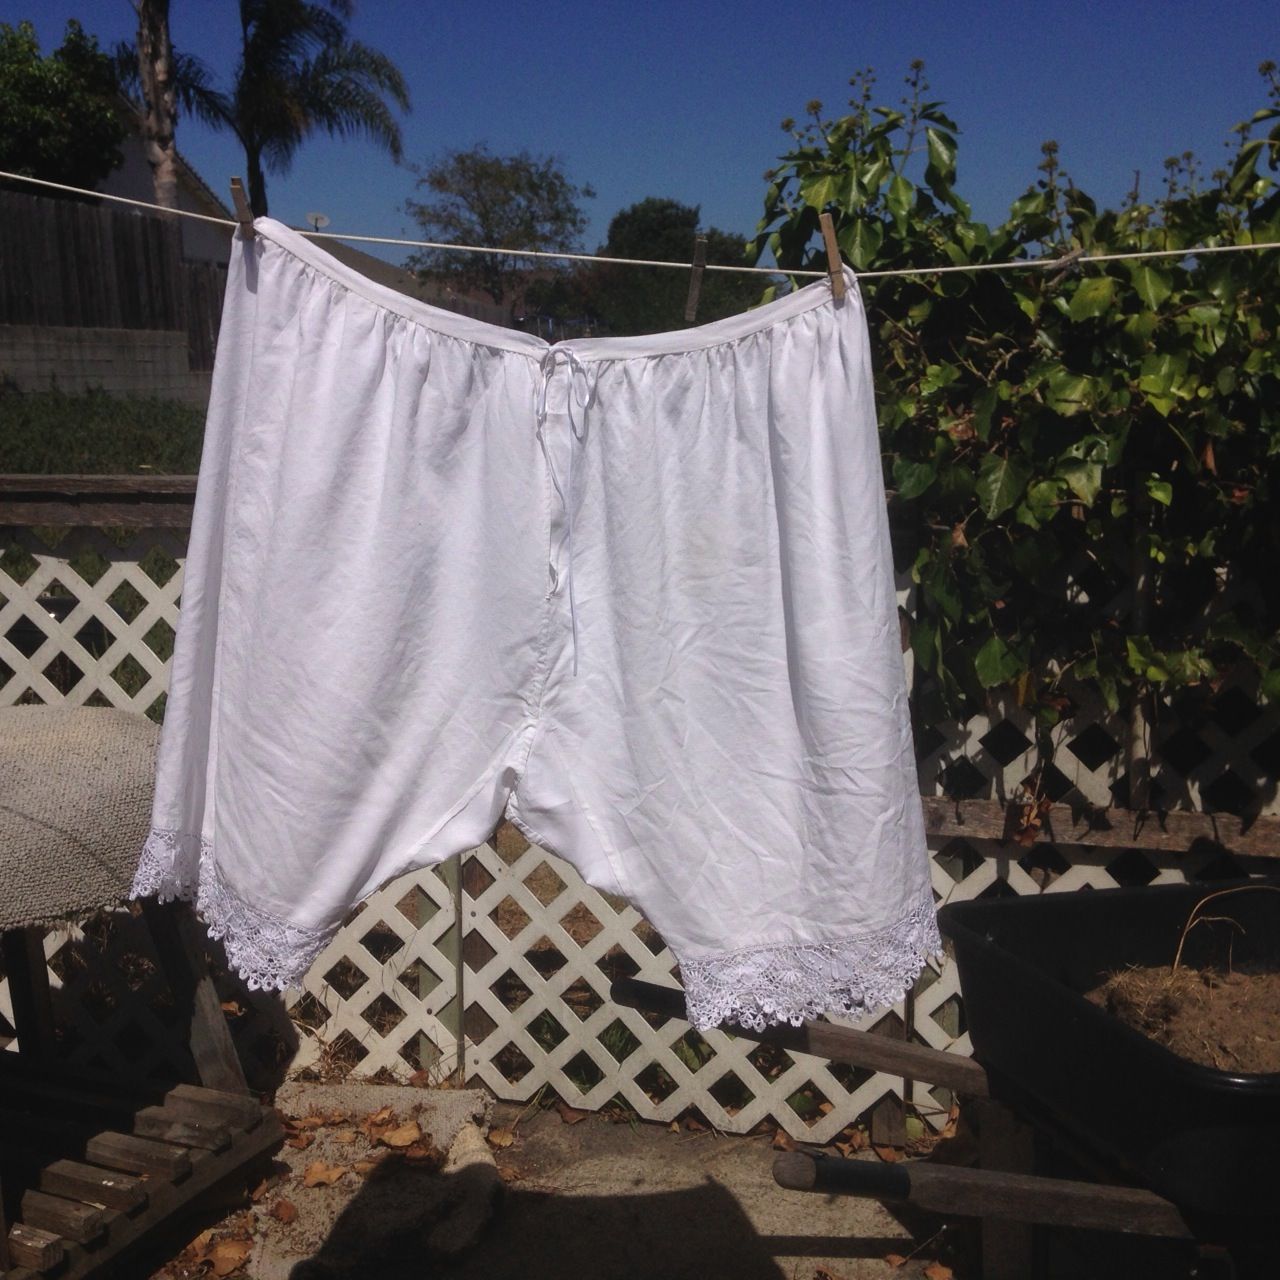
I'm so sorry! I thought I had posted this two weeks ago, and it's been sitting in the "save" file the whole time. I'm back from my vacation. The total eclipse was one of the most amazing sights I've ever seen in my life, and I urge you all, if you can, to see one. I spent the hour or so leading up to the eclipse sitting in a camp chair working on my drawers. They look pretty comical before the waistband is put on. A couple of people were flummoxed when they asked what I was sewing, and I held up this enormous thing and told them it was underwear. I still need to make a fingerloop braided tie...
I've started work on the first garment for the Queen of Margonia project, a pair of hand stitched drawers made from the pattern in the Italian Underpinnings package. I don't usually hand stitch my garments, especially those that won't show in the final wearing, but I wanted a television watching project. The work is actually going faster than I expected, and is quite relaxing. The fabric is a really nice smooth tightly woven linen, part of a set of curtains I found at a thrift store. I've already made my husband a shirt from it, so I only have a few pieces left. One of the pieces turned out to be exactly big enough to make the drawers. I bought...